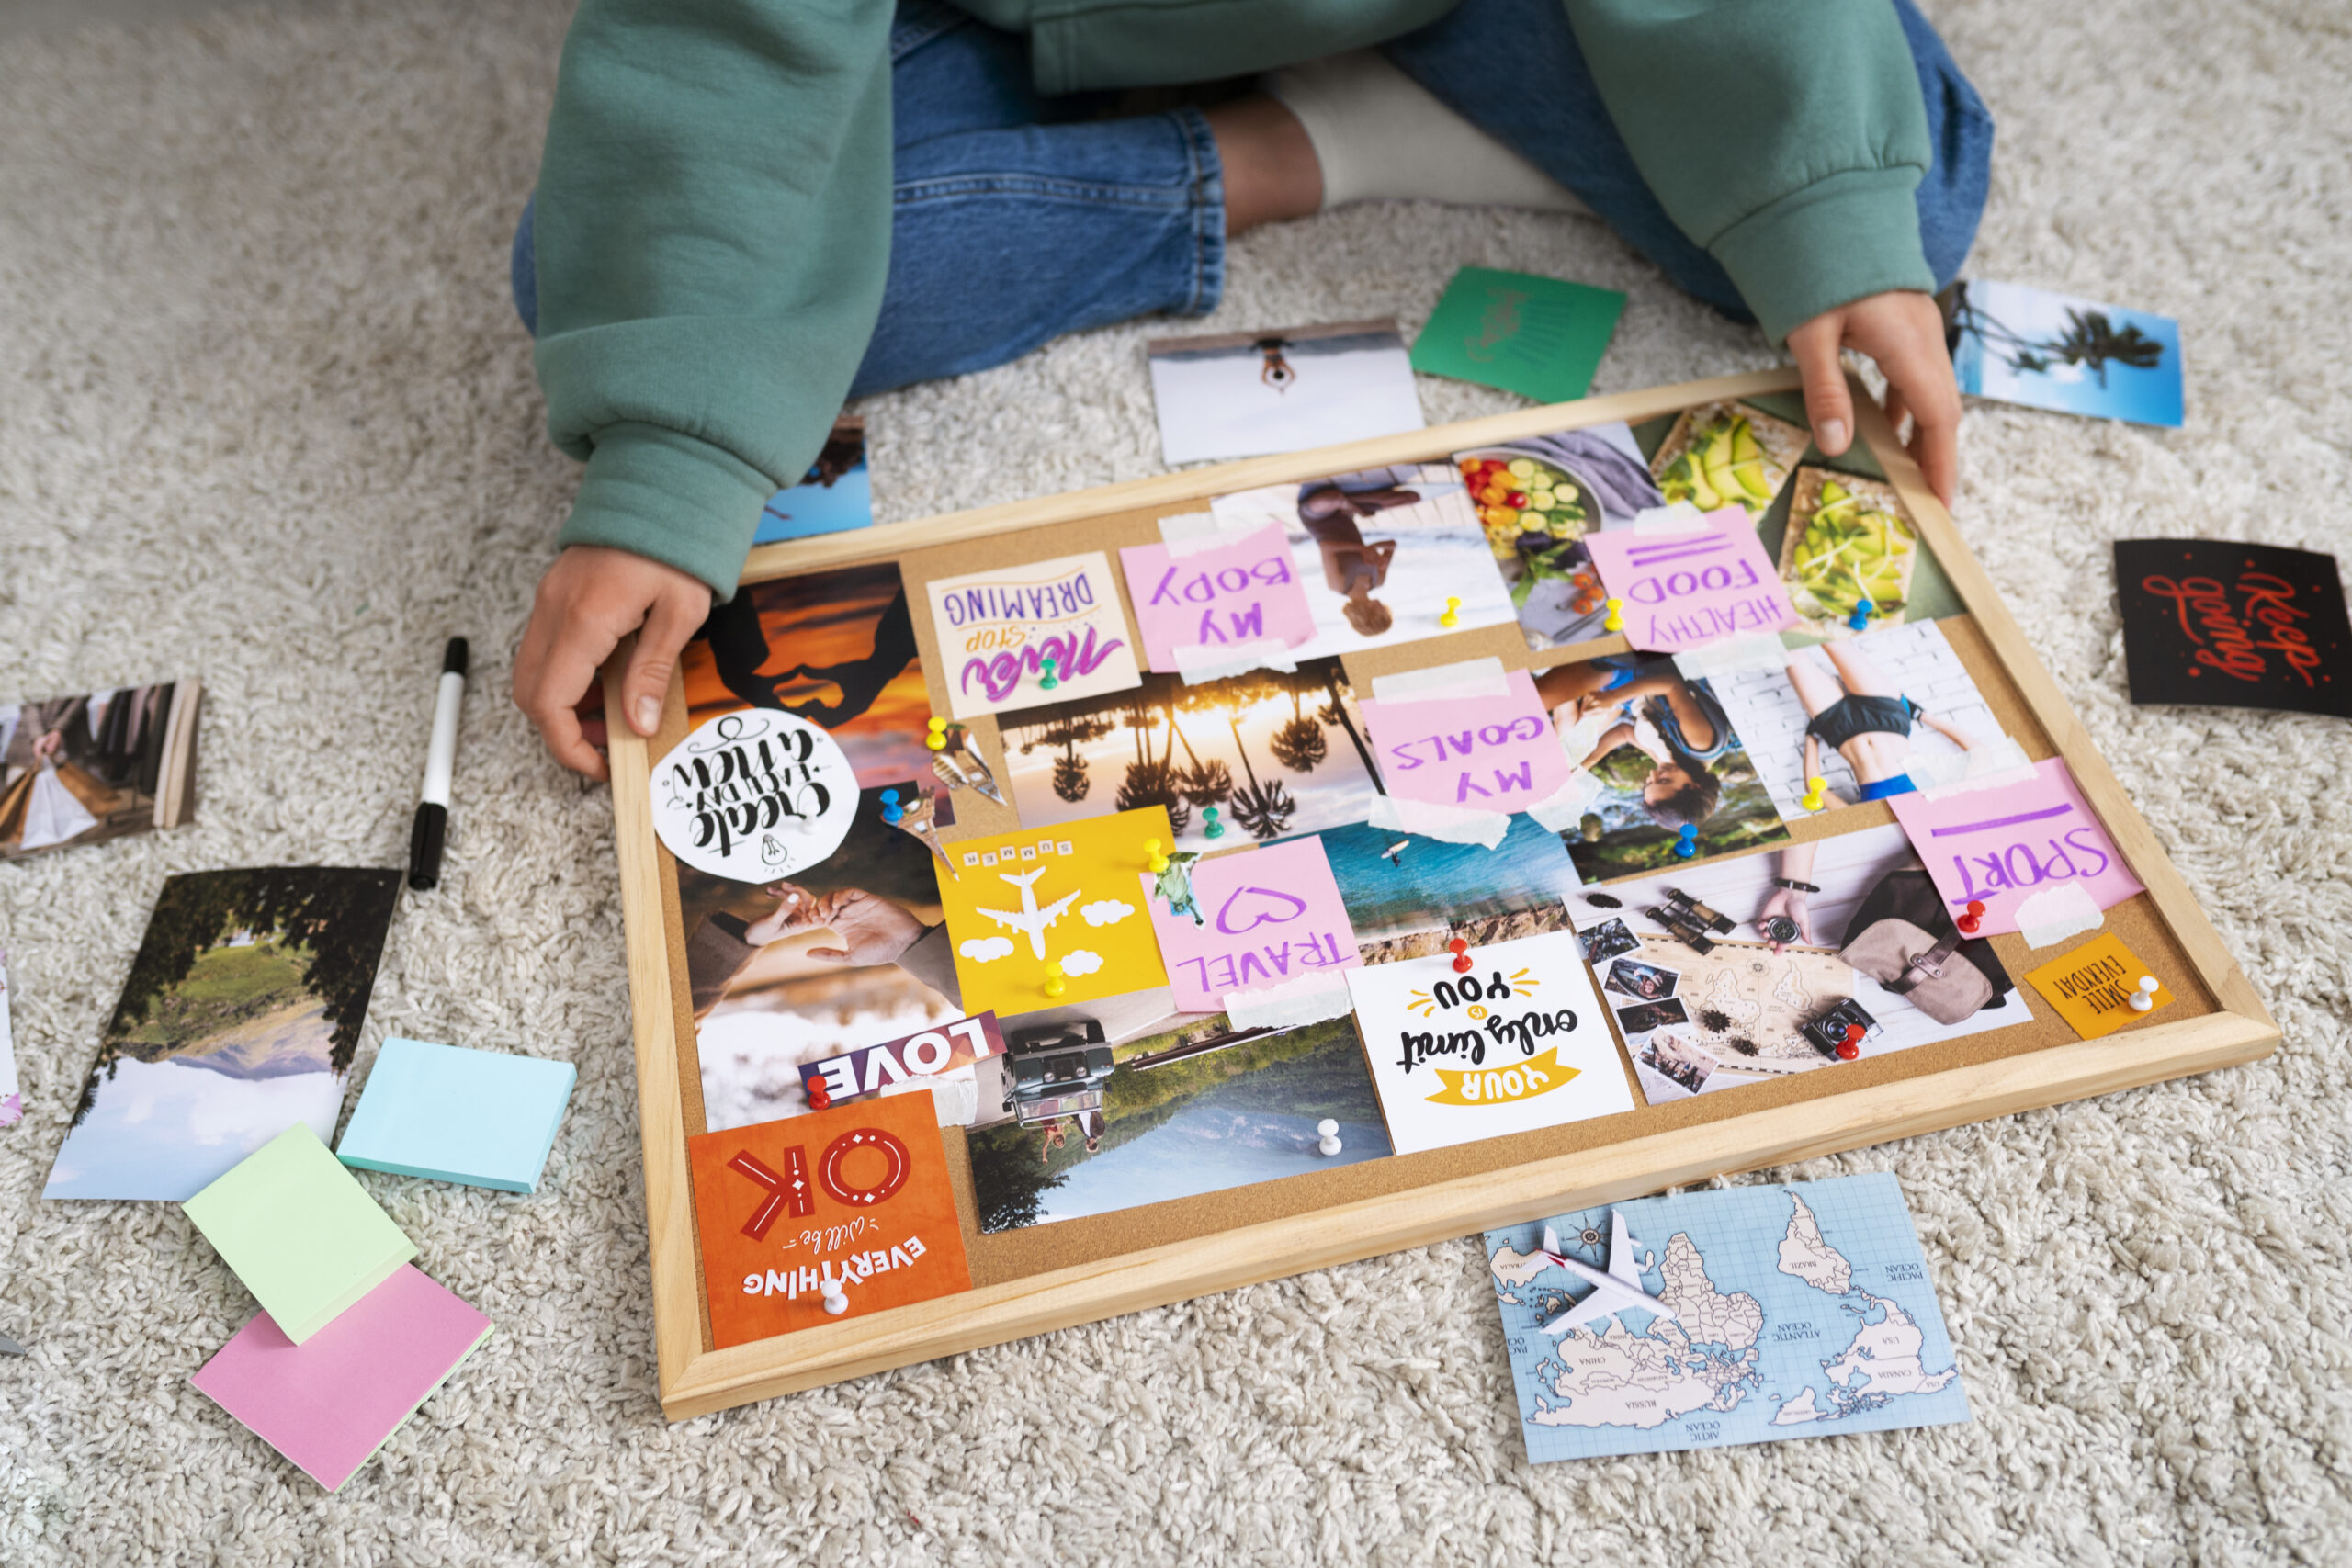
Step-by-Step Guide on Creating a Vision Board

December 2024
The start of a new year is the perfect time to set goals and focus on your dreams. A vision board is a fun and creative way to visualize what you want to achieve and stay motivated throughout the year. Whether you’re dreaming of career success, personal growth, or memorable travel experiences, a vision board can help turn your aspirations into reality. Here’s a simple step-by-step guide for creating one.
Step 1: Set Your Intentions
Before you start gathering materials, take some time to reflect on what you want to accomplish in the coming year. Ask yourself:
- What areas of my life do I want to focus on (e.g., career, relationships, health, hobbies)?
- What specific goals do I want to achieve?
- How do I want to feel throughout the year?
Write down your ideas or make a list to guide your vision board.
Step 2: Gather Your Supplies
To bring your vision to life, you’ll need a few basic materials:
- A sturdy board (corkboard, poster board, or foam board).
- Magazines, printed images, or photos that resonate with your goals.
- Scissors, glue, tape, and push pins.
- Markers, pens, or stickers for personalizing your board.
If you prefer a digital approach, use apps like Canva or Pinterest to create a virtual vision board.
Step 3: Find Inspiring Images and Words
Flip through magazines or search online for images, quotes, and words that align with your goals. For example:
- If you’re dreaming of a healthier lifestyle, look for photos of nutritious meals or people exercising.
- Want to travel? Find images of your dream destinations.
- Focused on career growth? Include motivational quotes or pictures of a workspace that inspires you.
Choose visuals that make you excited and feel connected to your dreams.
Step 4: Arrange and Assemble
Lay out your images, quotes, and words on the board before attaching anything. Group similar themes together—for example, all health-related items in one section and career-related items in another. Experiment with different layouts until it feels just right.
Once you’re happy with the arrangement, start attaching the pieces to your board using glue, tape, or push pins. Add personal touches like doodles, stickers, or handwritten notes to make it uniquely yours.
Step 5: Display Your Vision Board
Place your finished vision board somewhere you’ll see it daily, such as your bedroom, home office, or a shared living space. Regularly looking at your board will help reinforce your goals and keep you motivated.
Step 6: Revisit and Update
As the year progresses, revisit your vision board to track your progress. Celebrate the goals you’ve achieved and make updates if your priorities or aspirations change. A vision board is a dynamic tool that can grow with you!
Creating a vision board is not just about setting goals—it’s about creating a visual reminder of the life you want to build. Gather your friends or neighbors, make it a group activity, and inspire each other for the year ahead. Let 2025 be the year your dreams come to life!
